Call us today:
Flooring Installation
VINYL, LAMINATE AND HARDWOOD INSTALLATION
Professional Floor Installers
The way your flooring is installed matters just as much as the materials. We install hardwood, vinyl, and laminate with details that makes a difference: tight seams, level surfaces and clean transitions.
Flooring Installation Across the GTA
Looking for flooring installers near you? We install all types of hardwood, vinyl, and laminate across Toronto and the GTA. We’ve done it hundreds of times, and your space still gets our full attention. Every floor installation is unique, some need leveling, others need moisture testing. We take each project step by step and build a detailed installation plan fit for your space.
free consultation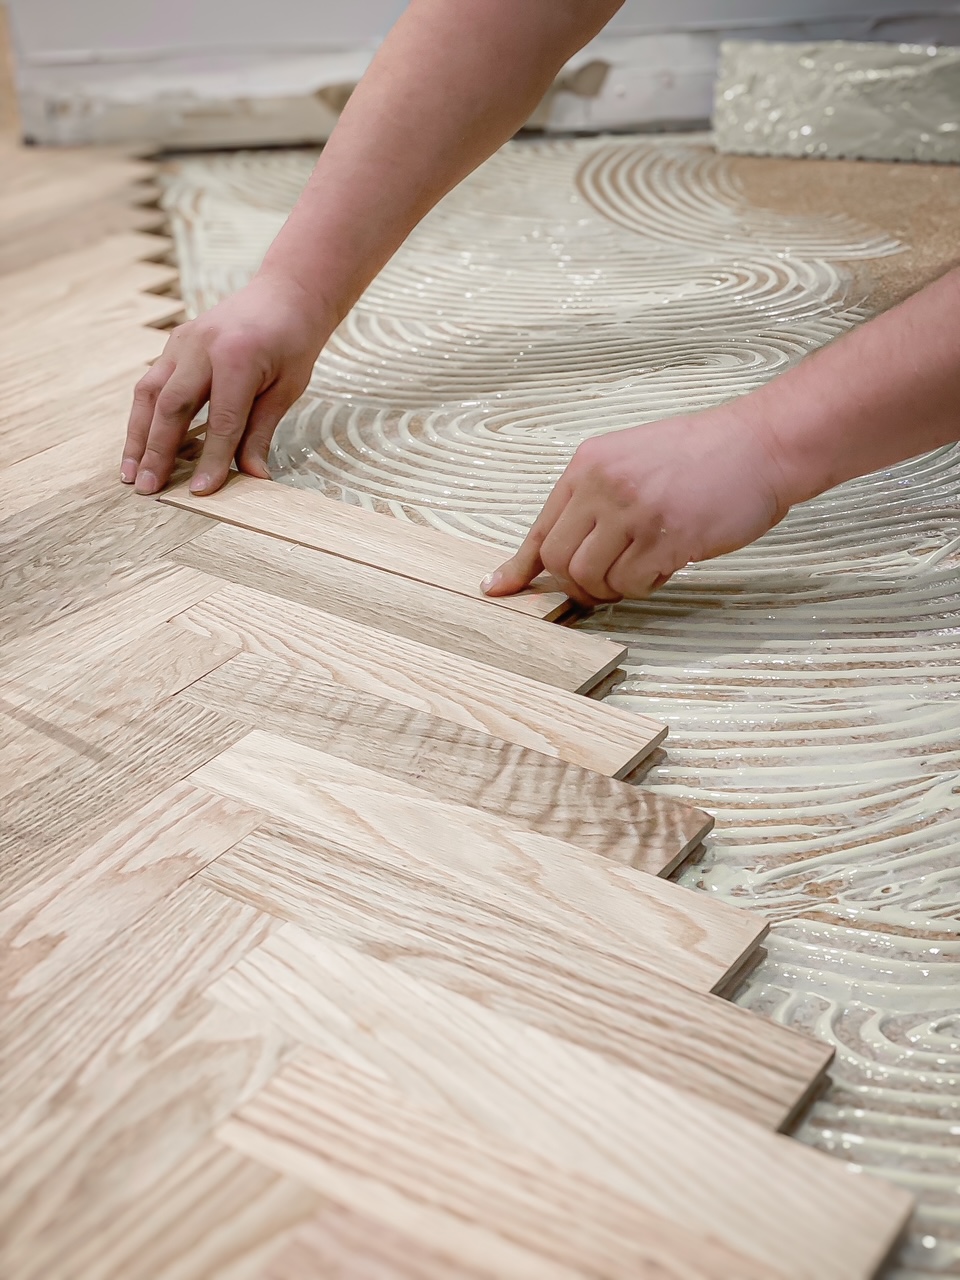
Why Choose Ez Con?
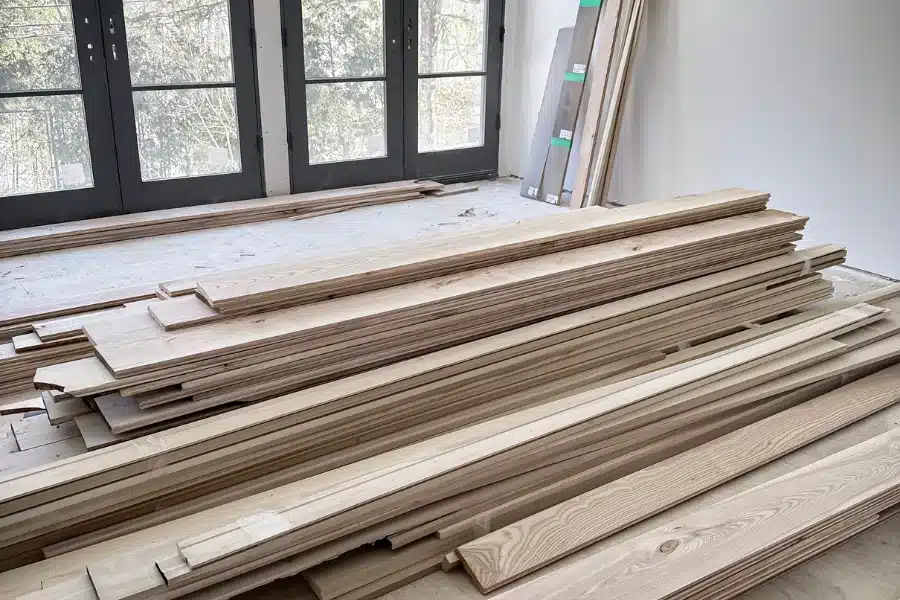
We carefully measure all wood beforehand, allow for proper wood acclimation, protect your home and furniture, and bring all the necessary equipment for a successful install for both residential and commercial floor installations.
- Most installations done in 1-2 days
- Subfloor preparation
- We fix any installation defects
- Moisture control and acclimation
- Over 15 years experience
- Different installation methods
- Different wood grades
Floor Installation Process
- Pre-Installation Assessment: Our team will visit your home to take accurate measurements and assess the condition of the subfloor.
- Removal of Existing Floor: If needed, we’ll remove your old floor and dispose of it responsibly.
- Floor Preparation: We prepare the subfloor, checking for anything that could affect installation.
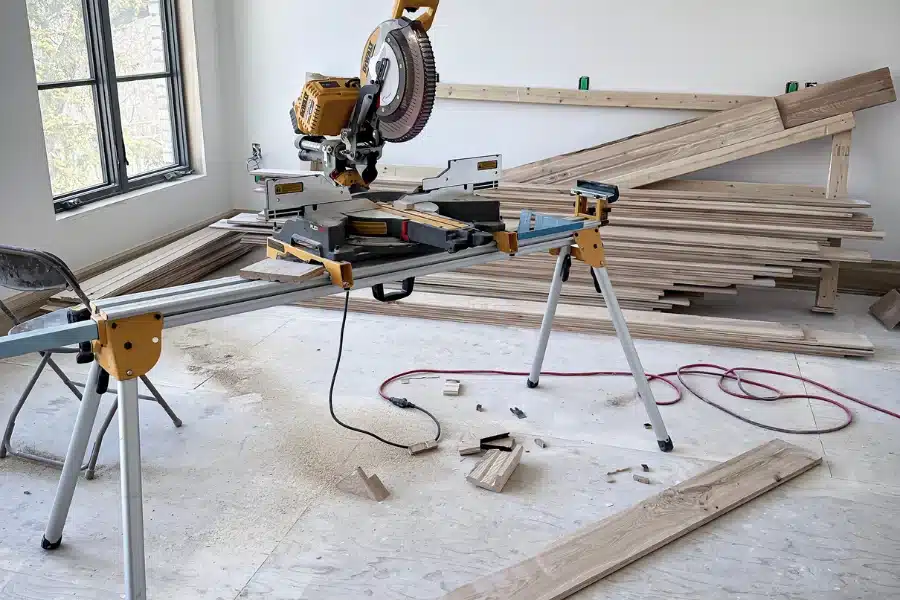
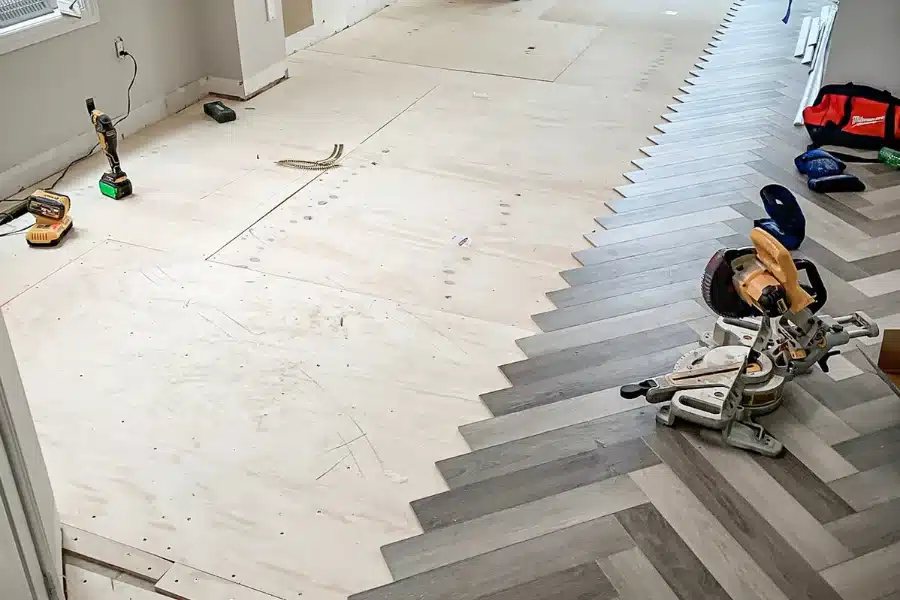
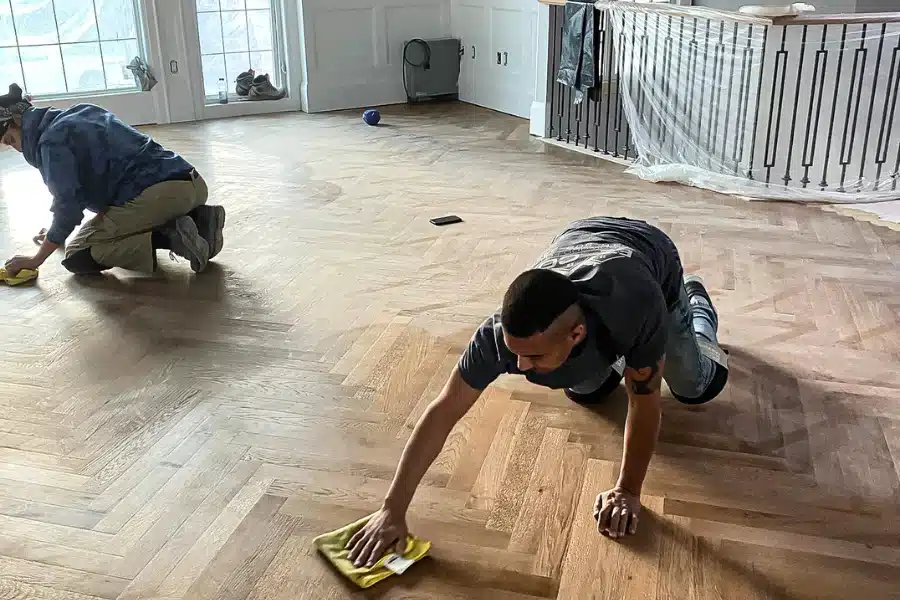
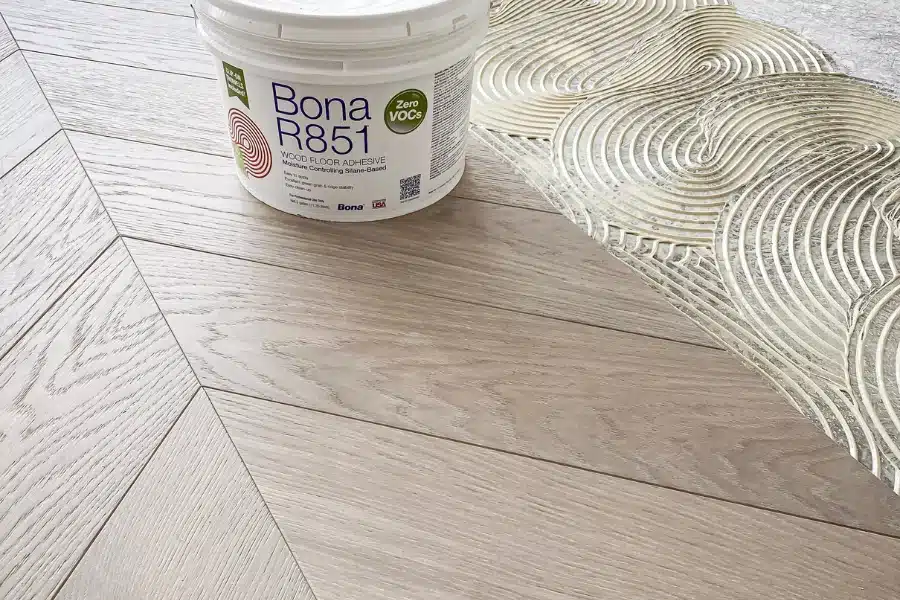
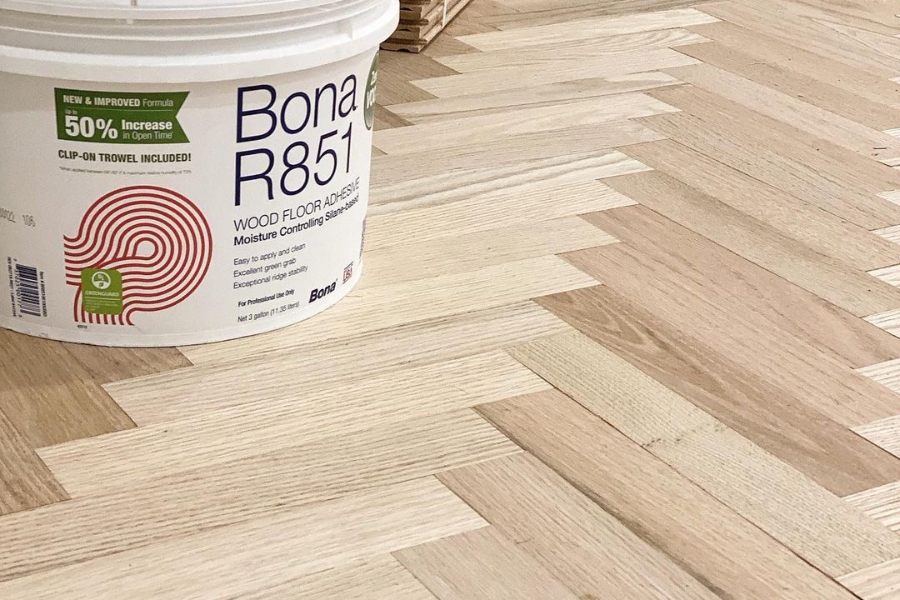
- Precision Cuts & Installation: Our local floor installers make precise cuts and use Bona Wood Glue for a top-quality finish.
- Clean-Up: We never leave a mess behind. This includes sweeping, and removing dust and debris.
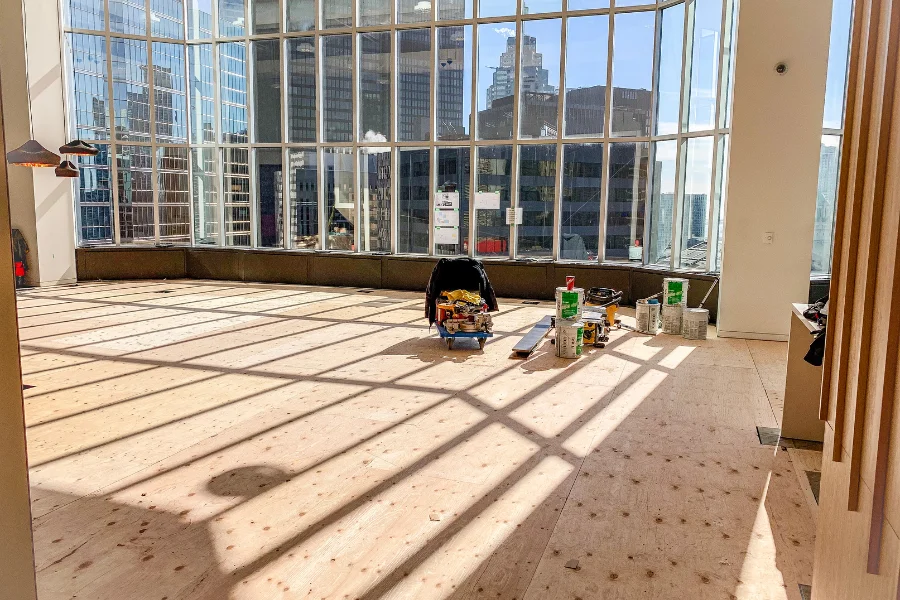
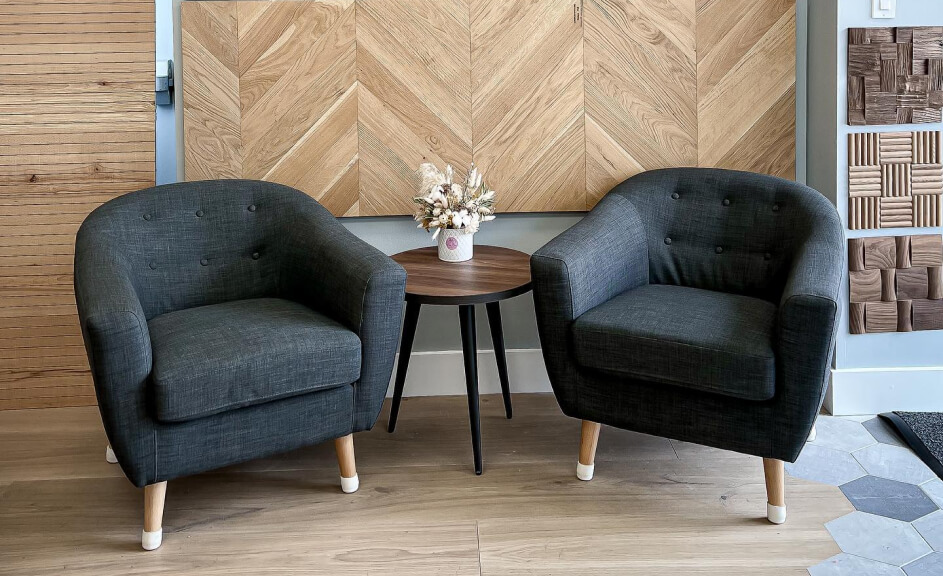
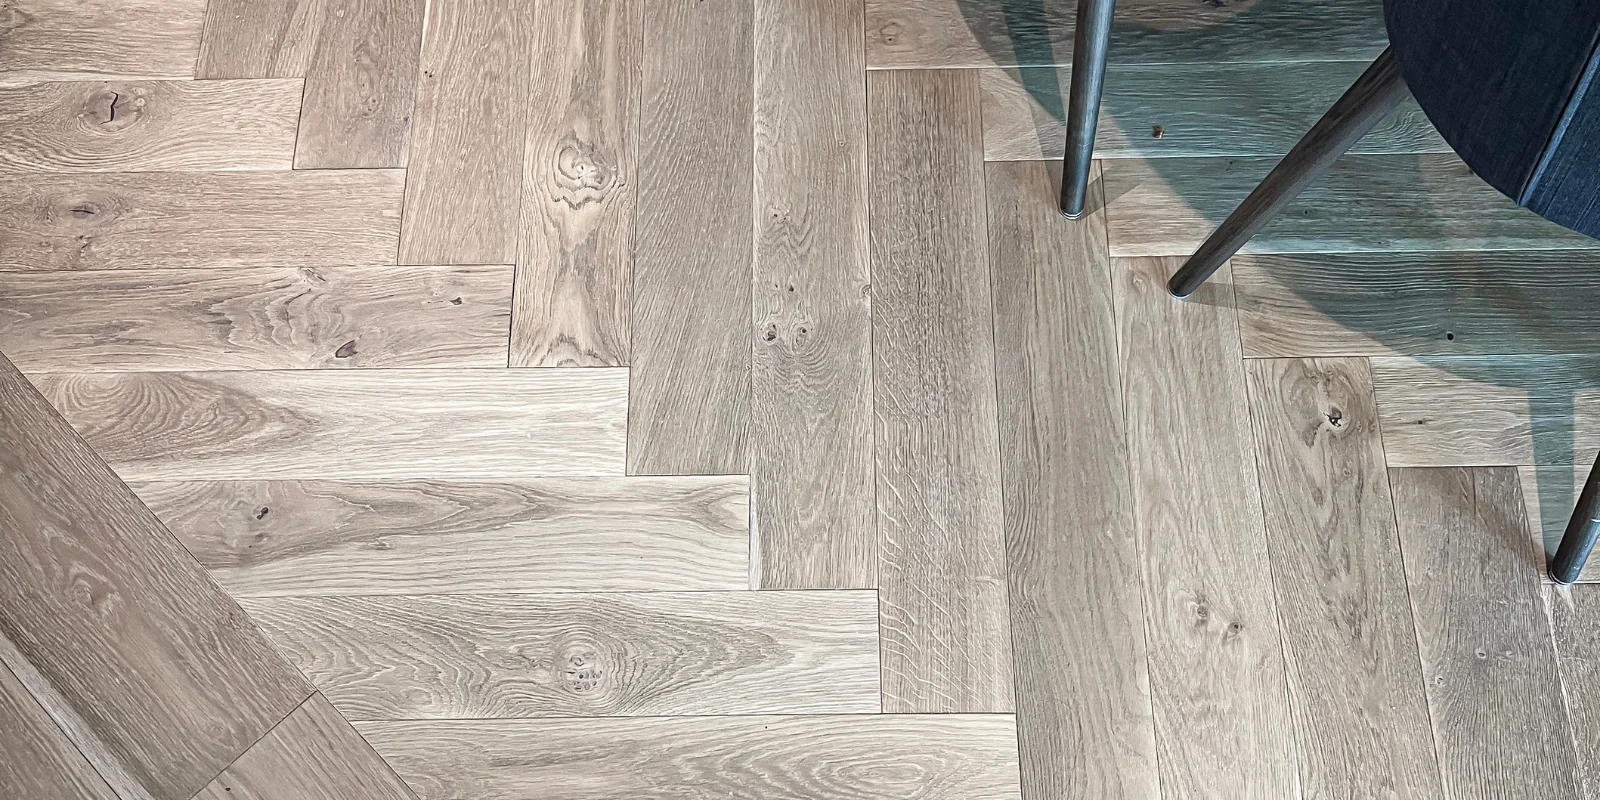
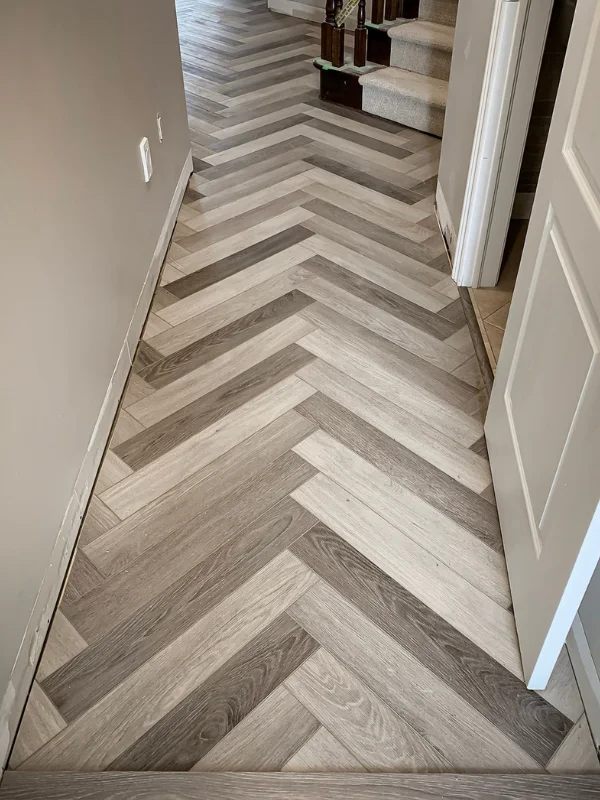
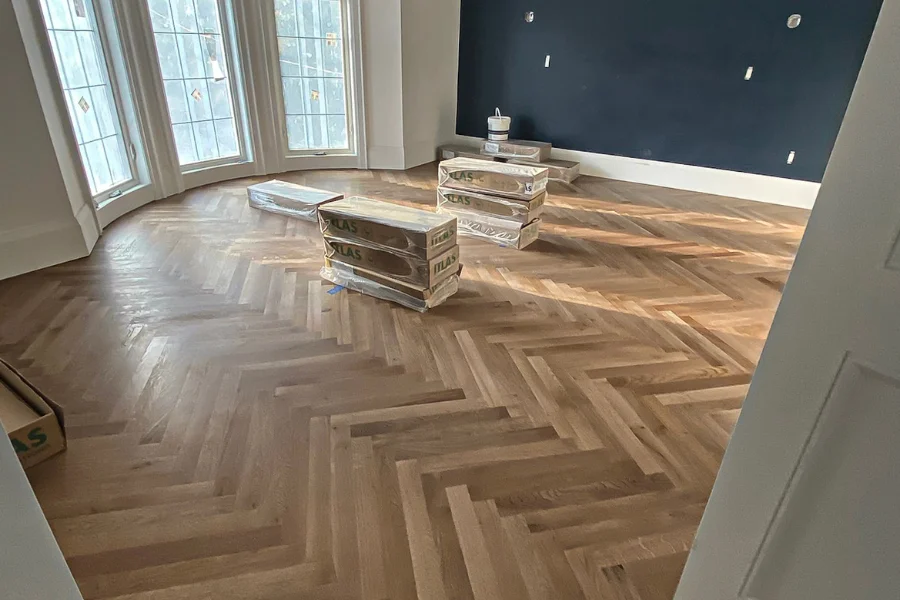
Check Out Some Installs

Wood Flooring Installation and Grades
Installation Methods
When it comes to installing engineered hardwood floors, there are several methods to choose from. The right flooring installation method depends on the width of the planks, the condition of the subfloor and the look you want.
- Nailed Down: This is the go-to method for planks that are 5” wide or less. Nails are driven through the wood into the subfloor.
- Nail and Glue Assist: For planks wider than 5”, we add a thin layer of glue along with nails. This works best on subfloors that are perfectly level.
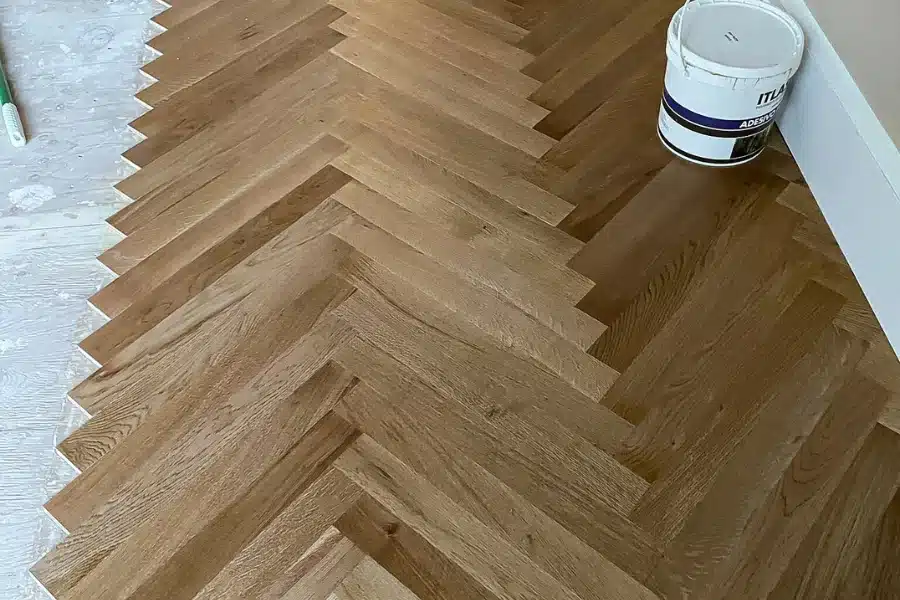
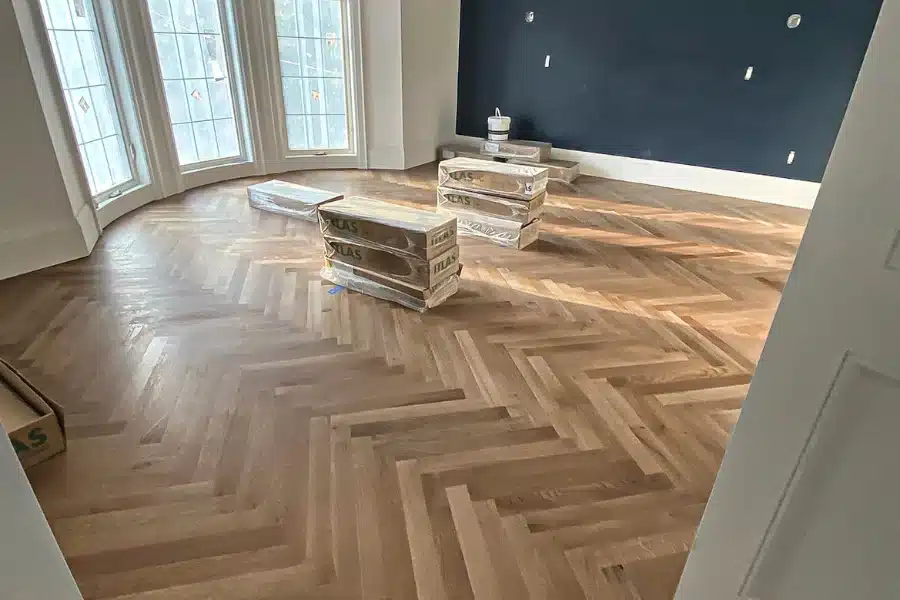
- Full Glue Down: Planks are fully glued to the subfloor. It’s perfect if the subfloor is uneven or if you’re installing herringbone and chevron floors.
- Floating Floor: This is a flexible option where planks just click together. Alternatively, with tongue and groove planks, you glue the planks to each other, not to the subfloor.
Wood Grades
When selecting wood for your floors, you’ll notice different grades based on the appearance and natural characteristics of the wood. Here’s a quick breakdown to help you choose:
- AB Grade (Select and Better): Smooth, with minimal knots or blemishes, and has a clean, uniform colour.
- ABC Grade (Select): A bit more character here. You may see small knots, sapwood or slight colour differences, but it still maintains a clean and balanced appearance.
- ABCD Grade (Character): This grade has a more natural look, with noticeable knots, colour variations, and filled cracks. Great if you like the idea of a wood floor that feels organic and unique.
- CD or EF Grade (Rustic): For a truly rustic look, this grade has big knots, open defects, and lots of colour variation, and brings a vintage, worn-in feel.
What We Need Before We Start
We like to keep things simple when it comes to installing your floors, but there are a few things we’ll need from you:
- Final choice of flooring material
- Access to the space (clear of furniture if possible)
- Confirmation on subfloor condition (we’ll check this too)
- Any special requests (transitions, trims, patterns, etc.)
- Scheduling that works for you
Ready to book your floor installation? Contact us for a free consultation. We’ll walk the space, answer your questions, and give a detailed quote.
FAQs
Do floors need to be acclimatized before installing?
Wood floors should always be acclimated before installation, particularly when there’s a noticeable difference in temperature and moisture between the wood and the room. This process helps the wood adjust to its new environment, preventing issues like warping or buckling after installation. If you skip this step, the wood can expand or contract once it’s laid down, which can disturb the overall look and durability of the floor.
What type of subfloor do you need for hardwood, vinyl, or laminate?
The subfloor plays a huge role in how long your floors last. For hardwood, you’ll need plywood or OSB that’s dry, flat, and nailed down tight. Vinyl and laminate are more forgiving, and can often go over concrete, tile, or older flooring, but the surface still has to be level within 3/16” over 10 feet. If it’s not, we’ll patch or grind as needed before we start.
Can you install new flooring around existing cabinets or islands?
Yes, but it depends on the floor type. For floating floors like laminate or vinyl plank, we install around cabinets, not under them, to allow for movement. For hardwood, we usually recommend installing before cabinets go in, especially if it’s nail-down. If your cabinets are already installed, we can undercut the base or work tight to the edge and add clean transitions or trims. We’ll make it look great either way.
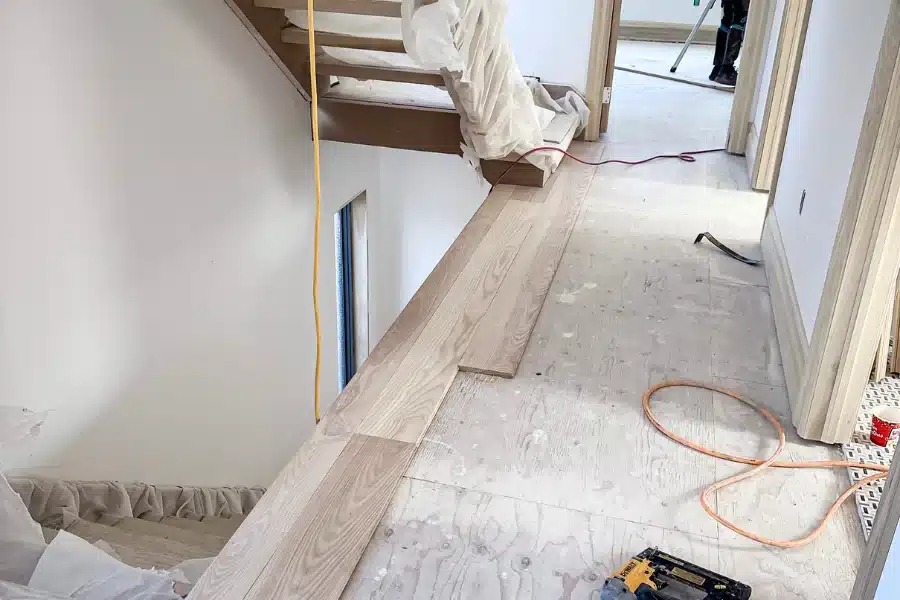
How do you install around areas like stairs, vents, or angled walls?
We custom-cut every piece around obstacles like vents, posts, and angled corners. For stairs, we typically install flooring with stair nosings or custom treads to match the planks. This part of the job takes time and precision, it’s not something we rush. If you have a lot of transitions or tricky spots, we’ll go over the plan with you in detail before install day.
Will installing new floors raise the height of my baseboards or doors?
Yes, it can. Most floors with underlay or thicker planks will raise the height slightly, usually by ¼” to ¾”. We’ll check door clearance during the initial walkthrough, and if needed, we can trim the bottoms so doors open and close properly. For baseboards, we can either remove and reinstall them or add matching quarter-round or shoe moulding to cover the gap cleanly.
Visit Our Showroom
44 Fasken Dr UNIT 23B, Etobicoke, M9W 1K5
Consult with our knowledgeable team, and discover how our exclusive products can enhance your home.